

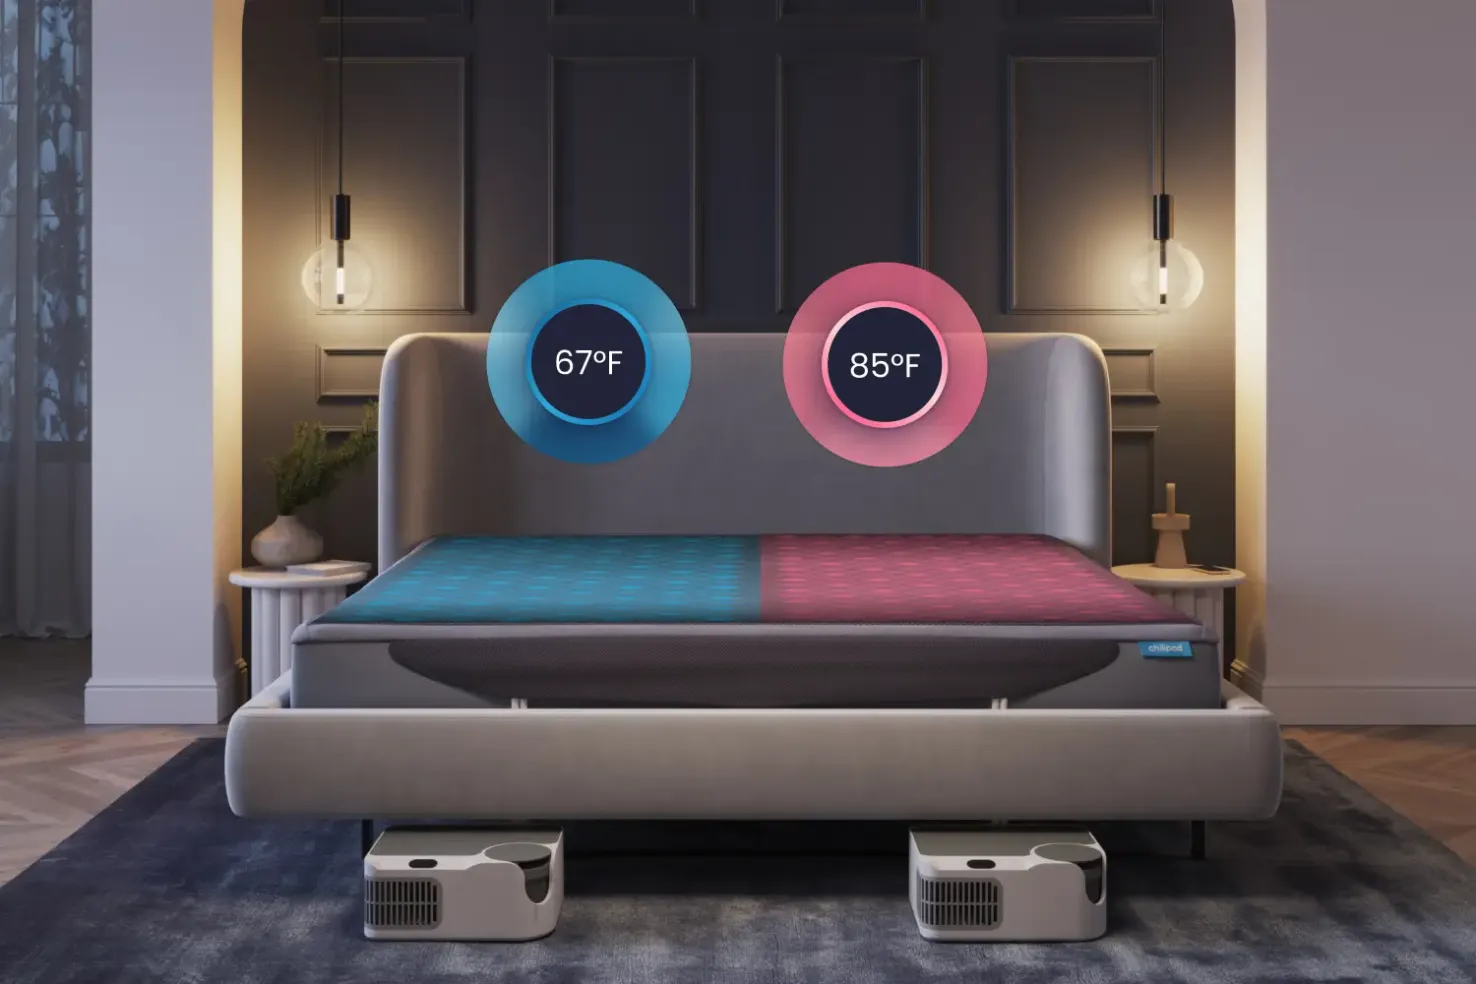
Peak Performance for Every Chilipad Generation
Chilipad Monthly Maintenance & Cleaning Instructions
Keep your Cube, OOLER, or Dock Pro running flawlessly. Your complete guide to internal system flushing and machine-washing your topper.
Chilipad Dock Pro Sleep System Monthly Maintenance
Supplies Needed: One System Cleaner Packet (per Dock Pro), Distilled Water, Clean Damp Cloth
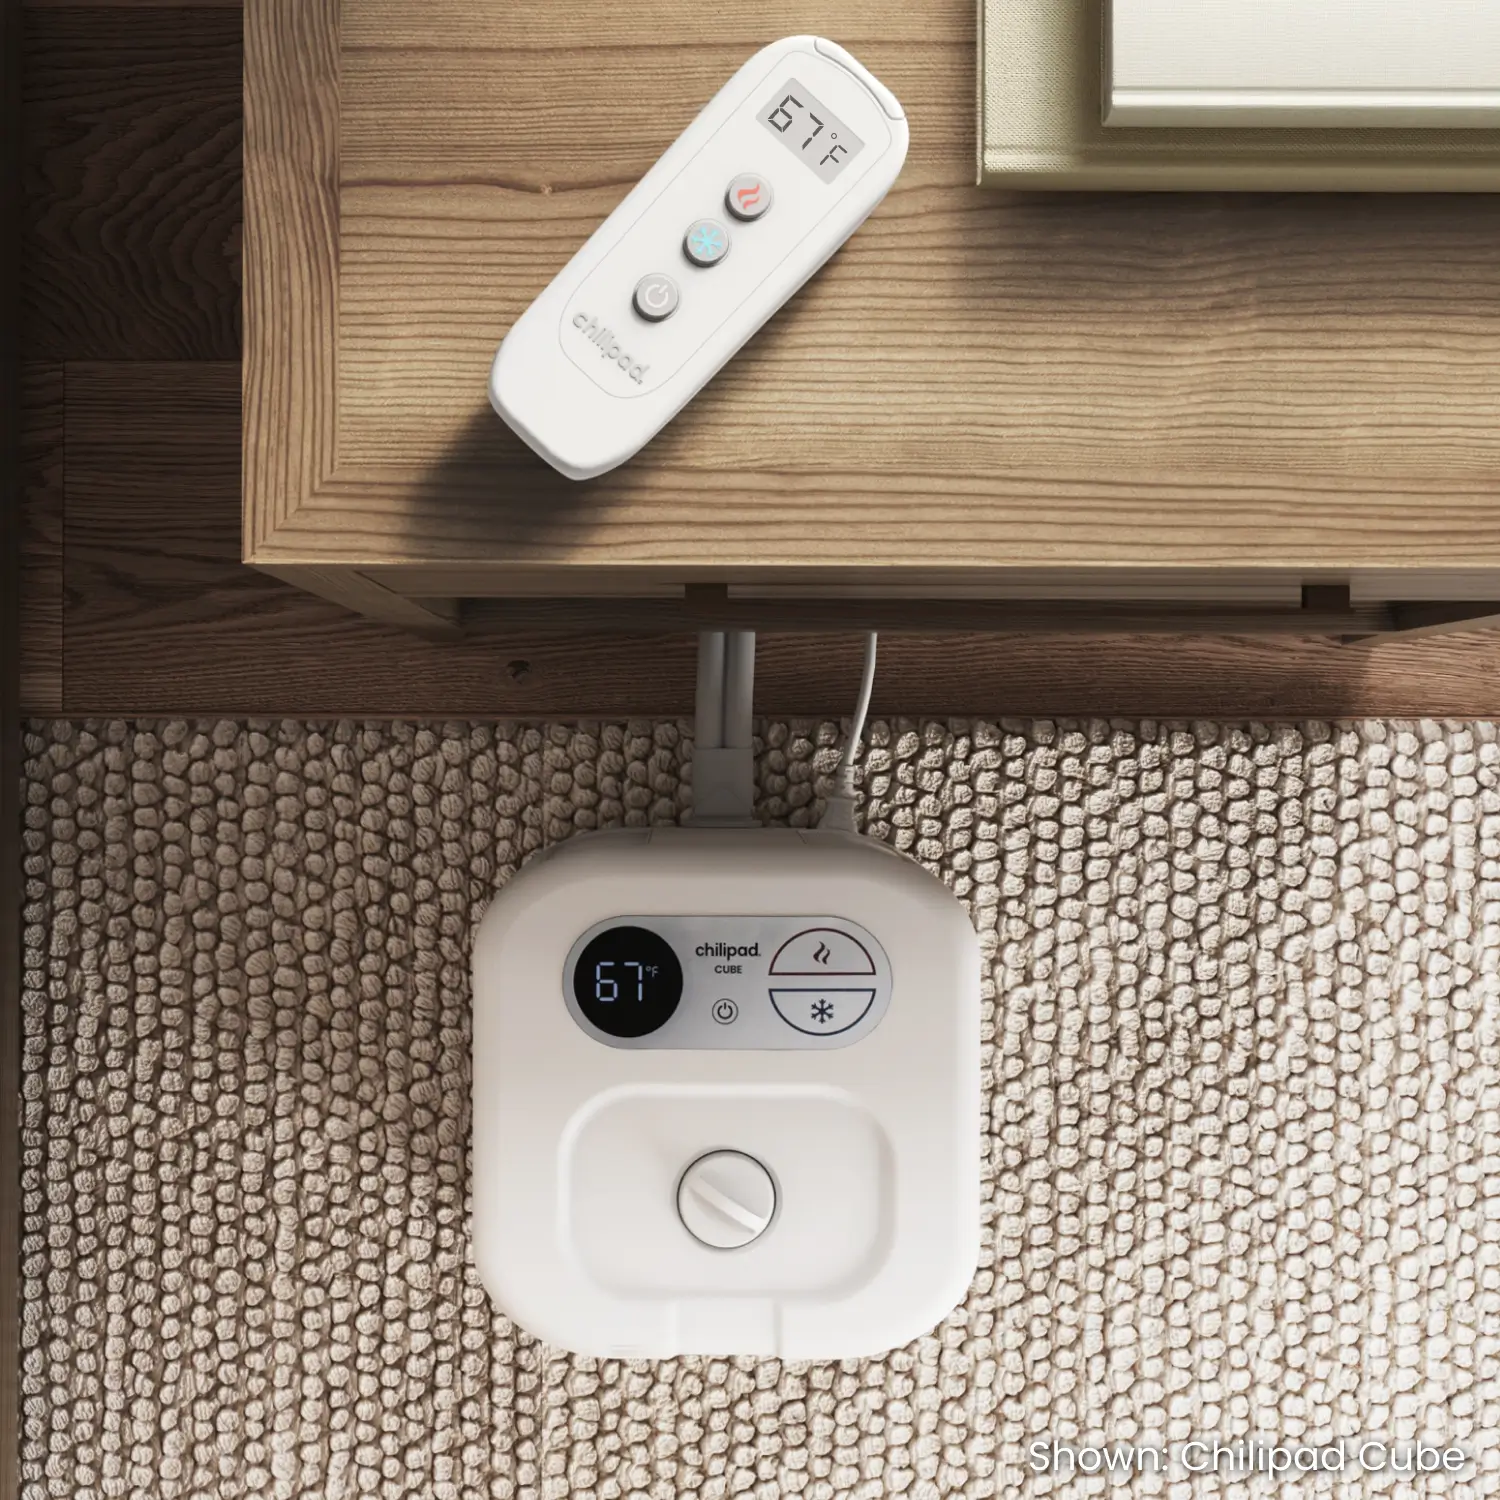
Dock Pro Control Unit
Expected Time: Less than 1 Minute
Steps
- Add one packet of System Cleaner to the reservoir and add distilled water as needed.
- Wipe down the control unit with a clean damp cloth. Note: Inspect the surfaces near the control unit (flooring, carpet, and furniture) for the presence of water, and ensure the surface is completely dry before reinstalling.
Chilipad Pro Mattress Topper
Note: When changing your sheets and/or at monthly intervals
Expected Time: Less than 1 Minute
Steps
- Inspect the pad, protector, and mattress for signs of condensation (dampness, mold, discoloration, etc).
- If this should occur, drain, wash, and dry the pad as instructed in the ‘system flush section’.
- Adjust the room temperature and Sleep System temperature settings to avoid condensation.
Chilipad Dock Pro Semi-Annual System Flush (or as needed)
Supplies Needed: One System Cleaner Packet & One Gallon Distilled Water (per Dock Pro), Clean Damp Cloth, Drain Key
Semi-Annual Flush Youtube Video Instructions
Chilipad Pro Laundering
Steps
- Disconnect the Chilipad Pro from the Hose Assembly.
- Bring the pad to the tub or shower. Hang the pad over a towel rod or the shower rod/door to let gravity aid in draining the pad most efficiently.
- Place the drain key in the pad’s connector(s) and drain all water from the pad. Remove drain key after water has been drained.
- Wash the pad in cold water, gentle cycle. Dry completely on a medium-temperature setting. Note: Disable the washing machine’s heat sensoar to expedite drying.
Note: Check the mattress for signs of condensation and be sure the pad, protector, and mattress are dry. For better mattress protection, we recommend using a waterproof mattress protector under the Chilipad Pro.
Dock Pro Control Unit (while cleaning the Chilipad Pro)
Steps
- Remove the grille, wipe with a damp cloth, dry, and reinstall.
- Remove the reservoir and discard the water. Rinse and dry using a clean damp cloth. Return the reservoir to the Dock Pro control unit.
Note: Inspect the surfaces near the control unit (flooring, carpet, and furniture) for the presence of water, and ensure the surface is completely dry before reinstalling.
System Re-install
Steps
- Confirm pad, mattress, and protector are completely dry.
- Install the Chilipad Pro on top of the mattress protector and reconnect the hose to the pad.
- Add One Packet of Chilpad System Cleaner to the water reservoir, Power On the system, and continuously refill the reservoir with approximately one gallon of distilled water until the water Icon disappears permanently.
- Replace the reservoir lid and Power Off.
Your system is ready for use! Adding system cleaner monthly and using distilled water will keep your system operational and extend its life.

Chilipad OOLER Monthly Maintenance and Cleaning Instructions
Once per month, add one packet of the Chilipad System Cleaner to your Control Unit.
Inspect pad, protector and mattress for signs of condensation* (dampness, mold, discoloration, etc). If this should occur, drain, wash and dry pad as instructed in the system flush below.
- Adjust the room temperature and Chilipad temperature settings to avoid condensation.
Chilipad OOLER Semi-Annual System Flush (or as needed)
Control Unit
- Unplug the power cord from the outlet and disconnect the power cord and hose from the Control Unit.
- Carry the Control Unit to the sink or tub, remove the reservoir cap, tilt the unit slightly toward its backside, and then insert the drain key into the back of the unit. Drain until the water trickles from the unit. DO NOT turn the control unit upside down.
- Wipe the unit down with a damp cloth and dry.
- Before placing the unit back in position, inspect surfaces near the control unit (flooring, carpet and furniture) for the presence of water and ensure the surface is completely dry.
- Plug the power cord into the control unit and the outlet, and connect the hose to the control unit.
- Pour distilled water into the reservoir until almost full. Add one packet of Chilipad System Cleaner.
- Place the reservoir cap back onto the unit then power it on for one hour at 77°F ( 25°C ) to circulate the cleaning solution throughout the system.
Chilipad Cube Bed Cooling System Monthly Maintenance
Once per month, add one packet of the Chilipad System Cleaner to your Control Unit.
Inspect pad, protector and mattress for signs of condensation* (dampness, mold, discoloration, etc). If this should occur, drain, wash and dry pad as instructed in the system flush below.
- Make sure to adjust the room temperature and the Chilipad Cube bed cooling system temperature settings to help avoid condensation.
Chilipad Cube Semi-Annual System Flush (or as needed)
Control Unit
- Unplug the power cord from the outlet and disconnect the power cord and hose from the Control Unit.
- Carry the Control Unit to the sink or tub, remove the reservoir cap, tilt the unit slightly toward its backside, and then insert the drain key into the back of the unit. Drain until the water trickles from the unit. DO NOT turn the control unit upside down.
- Wipe the unit down with a damp cloth and dry.
- Before placing the unit back in position, inspect surfaces near the control unit (flooring, carpet and furniture) for the presence of water and ensure the surface is completely dry.
- Plug the power cord into the control unit and the outlet, and connect the hose to the control unit.
- Pour distilled water into the reservoir until almost full. Add one packet of Chilipad System Cleaner.
- Place the reservoir cap back onto the unit then power it on for one hour at 77°F ( 25°C ) to circulate the cleaning solution throughout the system.
Washing Chilipad OOLER & Cube Cool Mesh Pad
The pad is machine washable. Note that instructions are different depending on whether you own a pad with an attached “tail” or with a “quick connect”.
How do I know if I have a Quick Connect Pad? Finding where water enters/exits the Chilipad topper is the best place to determine whether your pad is a Quick Connect Pad. First, check if the Chilipad has additional material extending from the pad (this is called a ‘duck flap’). Next, examine the pocket to see if there’s a mechanical connector or a hose with a mechanical button. In either of these two instances, your pad is a Quick Connect.
Older versions of the Chilipad hydronic pad do not have a “duck flap” or a mechanical button and come with a permanently attached 7-foot hose. These pads have been discontinued. A replacement pad with the Quick Connect Hose assembly can be purchased.
Pad with Tail:
- Detach the hose from the control unit, and bring the pad to the tub or shower. Hang the pad over a towel rod or the shower rod/door to let gravity aid in draining the pad most efficiently.
- Place the drain key in the pad’s connector(s) and drain all water from the pad.
- Roll the hose in a circle-like fashion and use the attached strap to secure it in this formation. This will prevent the hose from flailing in the washing machine.
- Load the pad into a frontload washing machine. Wash in cold water, gentle cycle. Dry completely on a low-temperature setting.
- Before reinstalling the pad on the mattress, check for signs of condensation. Be sure the mattress is dry. For better mattress protection, we recommend using a waterproof mattress protector.
- Place the pad on the mattress and reconnect the hose to the control unit.
Pad with Quick Connect:
- Detach the hose from the pad.
- Bring the pad to the tub or shower. Hang the pad over a towel rod or the shower rod/door to let gravity aid in draining the pad most efficiently.
- Place the drain key in the pad’s connector(s) and drain all water from the pad.
- Ensure pad has been drained and has been disconnected from the hose. Wash in cold water, gentle cycle. Dry completely on a low-temperature setting.
- Before reinstalling the pad on the mattress, check for signs of condensation. Be sure the mattress is dry. For better mattress protection, we recommend using a waterproof mattress protector.
- Place the pad on the mattress and reconnect the hose to both the pad and the control unit.
Do not bleach, do not iron, and do not dry-clean the pad.
Proper care and maintenance of your bed cooling system is critical to its performance and to prevent mold and/or mildew. Please monitor appropriately. Inability to follow pad laundering instructions voids the customer warranty and may cause damage to your washing machine and/or dryer.
The Bed Cooling System may malfunction if system cleaning, maintenance and inspection protocols are ignored. Care is the responsibility of the user/owner, and any resulting damage becomes the responsibility of the user/owner.